How To Use The Hashi Bridge
What is HASHI? HASHI is a descentralized and trustless cross chain bridge. The HASHI bridge allows users to move tokens between Ethereum and Sora mainnet. HASHI is integrated with Polkaswap. How does HASHI works? To move assets from Ethereum (ERC20 Tokens) to Sora mainnet (Substrate based network) the user sends their assets to a bridge contract on Ethereum, then HASHI will use the proof of the ethereum transaction as an extrinsic call and once the validation has finished on Sora’s side the funds will be available in the user’s Sora wallet. Before we use the bridge we need to connect to Polkaswap both wallets (Sora’s mainnet and Ethereum), if you don’t know how to create a Sora account you can follow our guide.
Steps:
- Open Polkaswap and go to the bridge tab
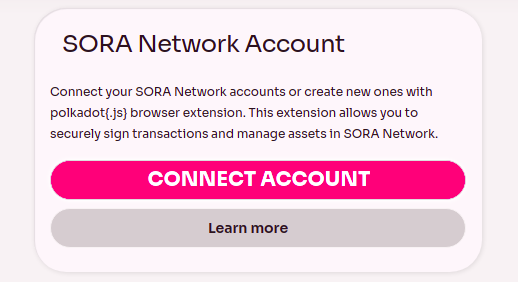
Click the “Connect Account” button, once you click it you will you will be asked to connect a Sora Network account, at this stage you can create one or use one you already have.
Select the account you want to use
If your account is successfully connected you should be able to see your account holdings as shown below. If you are in a different page go to the “account” tab in the side menu.
You can also know which address it is connected at any moment by looking at the top right, next to your node selection.
Note: Do not use accounts generated by hardware wallets.
How to transfer funds between Ethereum and Sora Network Just like we did before with the Sora account we need to connect our Ethereum wallet to Polkaswap before we use HASHI. You don’t need to pay any fee to connect your account.
Before you use the bridge be sure Metamask is set to Ethereum mainnet, once it is done go to Polkaswap and click the “Bridge” tab of the side menu.
Click “Connect account”, you will be asked to choose what Ethereum account you want to use, if Metamask does not open a new window open it manually.
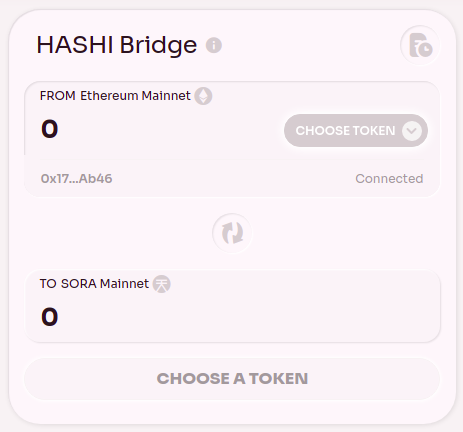
If the connection is successful you should see your Ethereum address on the bridge menu.
Select what bridge direction you wish to use. Are you sending your assets to Sora Network or are you moving your assets to Ethereum?
As you can see in the previous image in the center of the page there is a little button that allows us to switch the direction, just click it until you get the configuration you want to use, for this tutorial we will send assets from Ethereum to Sora Network.
Choose what token are you bridging, always verify the contract address of the token you’re bridging! otherwise you may be trading a fake token and funds will be irretrievable!
To select what token you want to bridge, click on the drop down list and choose a token, for this example we will bridge ETH.
You have two options to filter the token you’re looking for, you can look for it manually in the “tokens” tab or you can type the ticker for a quick a search.
If you are already holding the token in Ethereum you will see the amount displayed.
Once you’ve selected a token put the amount you want to bridge.
At the bottom of the bridge menu you will see how much you will receive, click “Next” and then click the “Confirm” buttton if you are happy with the amounts displayed.
Sora does not charge a fee while bridging from Ethereum to Sora.
Before the confirmation starts you need to confirm the transaction on Metamask. If the window does not pop up automatically then open Metamask and confirm it manually.
One of the coolest things about Sora is its low cost to transfer tokens between accounts when bridging to its network.
This is not a fixed price and it is displayed as example only, current fees depend on Ethereum gas prices.
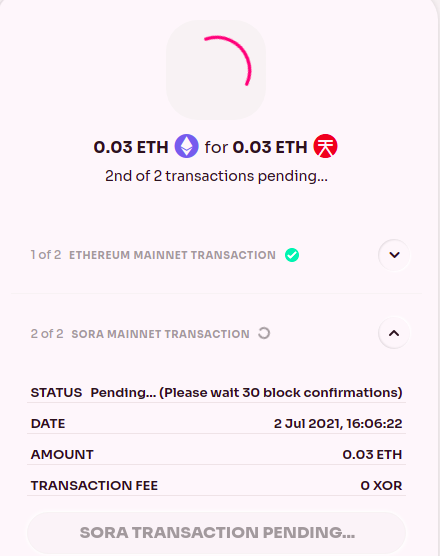
While the transactions are being confirmed you will see a screen similar to the one shown below which contains the current status of the first confirmation (Ethereum side), it is recommended to set a high gas fee so the transaction does not get stuck.
Once the ethereum transaction has been confirmed the transaction proof will be sent to Sora.
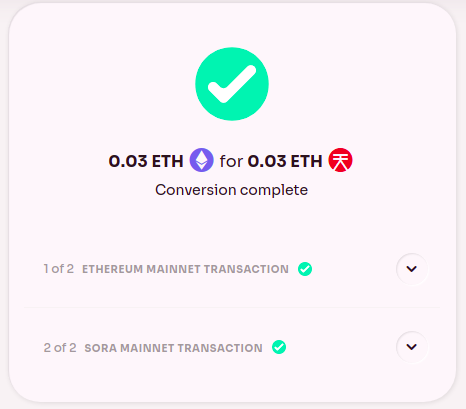
Sora’s transactions require 30 block confirmations with new blocks produced every 6 seconds. Once both transactions are confirmed we will get a notification.
Go to the “account” tab in your side menu and you will see your assets now listed under your Sora account.
That is it, you have successfully bridged your tokens to the Sora mainnet. Welcome to the new economy!
ⓅⓞⒸⓞⒸⓞ We are a highly motivated group consciousness in the Polkaswap and SORA ecosystem, coming together to offer support strategically and financially for the benefit of everyone involved. 𒊹𒂵𒆜


0 comments